Game Theory Strategic Indicator - Archery & Horse Riding Model# Game Theory Strategic Indicator - Archery & Horse Riding Model
## Overview
This indicator applies rigorous game theory mathematics to market analysis, modeling price action as a strategic two-player game between buyers and sellers. The methodology draws from economic game theory, evolutionary dynamics, and zero-sum game optimization.
## Theoretical Foundation
The indicator implements five core game theory concepts:
**1. Expected Utility (Mixed Strategies)**
Calculates E = p×U₁ + (1-p)×U₂ where:
- p = probability distribution based on volume dynamics
- U₁, U₂ = utility payoffs for aggressive vs defensive strategies
- Uses RSI momentum and ATR volatility to quantify payoffs
**2. Nash Equilibrium Detection**
Identifies market states where ui(σᵢ*, σ₋ᵢ*) ≥ ui(σᵢ, σ₋ᵢ*):
- Measures when no participant can improve by changing strategy
- Highlighted with yellow background zones
- Signals reduced edge environments (avoid trading)
**3. Replicator Dynamics**
Models evolutionary strategy adaptation: dx/dt = x(f(x) - φ(x))
- Tracks frequency changes in bullish vs bearish strategies
- Shows which approach is gaining evolutionary fitness
- Purple line indicates strategy evolution trend
**4. Minimax Algorithm**
Implements zero-sum game optimal strategy L(x,y):
- Calculates win/loss ratio over lookback period
- Values > 1.0 suggest favorable risk/reward
- Orange line shows deviation from neutral state
**5. Best Response Function**
Determines optimal action maximizing ui(aᵢ, a₋ᵢ):
- Compares buyer vs seller expected utilities
- Generates primary long/short signals
- Confidence weighted by utility differential
## Visual Elements
**Chart Plots:**
- **Blue Line (Utility Differential)**: Buyer utility minus seller utility. Positive favors longs, negative favors shorts
- **Purple Line (Replicator Dynamics)**: Rate of strategy evolution. Rising = bullish strategies gaining fitness
- **Orange Line (Minimax Deviation)**: Zero-sum game value. Above zero = favorable conditions
- **Pink Area (Mixed Strategy Bias)**: Probability-weighted strategy preference
- **Yellow Background**: Nash equilibrium zones where no player has edge
**Signals:**
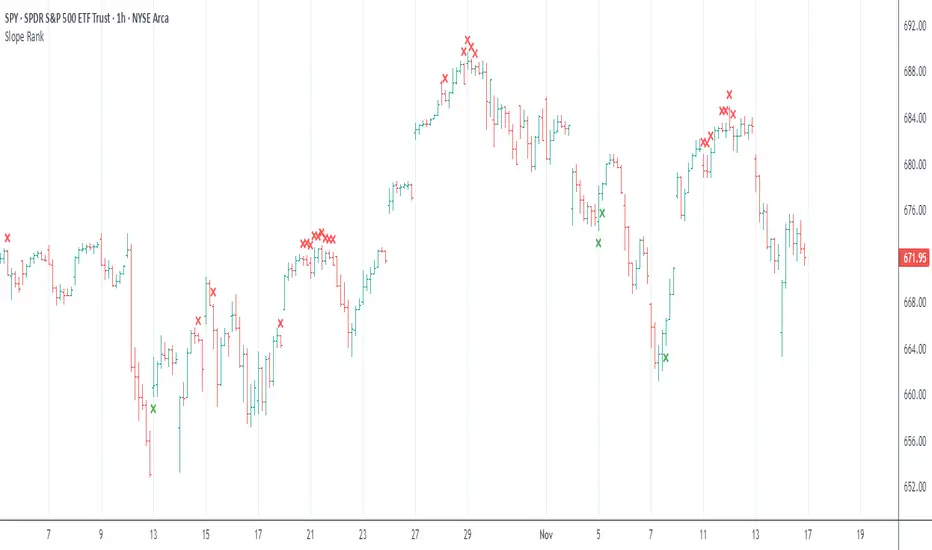
- **Green Triangle Up**: Long signal - buyer utility dominates outside equilibrium
- **Red Triangle Down**: Short signal - seller utility dominates outside equilibrium
- **Yellow Diamond**: Equilibrium warning - reduced edge state
**Info Table (Top Right):**
- EU Buyer/Seller: Current expected utilities
- Nash Score: Equilibrium strength (>0.65 = equilibrium)
- Mix Prob: Volume-based probability distribution
- Minimax: Win/loss ratio indicator
## Strategy Metaphors
**Archery (Buyer Strategy)**: Represents precision attacks - targeted entries at optimal risk/reward points, high accuracy required
**Horse Riding (Seller Strategy)**: Represents mobile defense - flexible positioning, quick exits, adaptive to changing terrain
## Parameters
- **Strategy Period (14)**: Lookback for RSI and ATR calculations
- **Mixed Strategy Length (21)**: Period for minimax win/loss analysis
- **Nash Equilibrium Threshold (0.65)**: Minimum score to identify equilibrium (0.5-0.9)
- **Show Trade Signals**: Toggle buy/sell arrows
- **Show Equilibrium Zones**: Toggle background highlighting
## How to Use
1. **Trend Trading**: Take long signals when utility differential (blue) is rising and no equilibrium zone present
2. **Counter-Trend**: Take signals when replicator dynamics (purple) diverges from price
3. **Risk Management**: Avoid trading during yellow equilibrium zones - market has no clear edge
4. **Confirmation**: Best signals occur when minimax > 1.0 and best response aligns with utility differential
5. **Monitoring**: Watch info table for real-time utility balance and equilibrium status
## Alerts
Three alert conditions available:
- **GT Long Signal**: Buyer utility dominates, composite score > 0.5
- **GT Short Signal**: Seller utility dominates, composite score < -0.5
- **Nash Equilibrium**: Market reaches balanced state, avoid new entries
## Mathematical Rigor
All calculations use proper game theory formulations:
- Payoff functions normalized by volatility
- Probability distributions bounded
- Zero-division protection implemented
- Utilities properly weighted in composite score
## Originality Statement
This indicator is original work implementing classical game theory mathematics in a novel market analysis framework. The code, calculations, and interpretation methodology are entirely my own creation. No external scripts were copied or modified.
## Disclaimer
This indicator is for educational purposes. Game theory provides a framework for analyzing strategic interaction but does not guarantee profitable trading. Always use proper risk management, test thoroughly, and understand that past performance does not indicate future results.
---
**Educational Resource**: For deeper understanding of game theory in economics, see Nash (1950) "Equilibrium Points in N-Person Games" and Maynard Smith (1982) "Evolution and the Theory of Games"
```
---
Pine Script® indicator