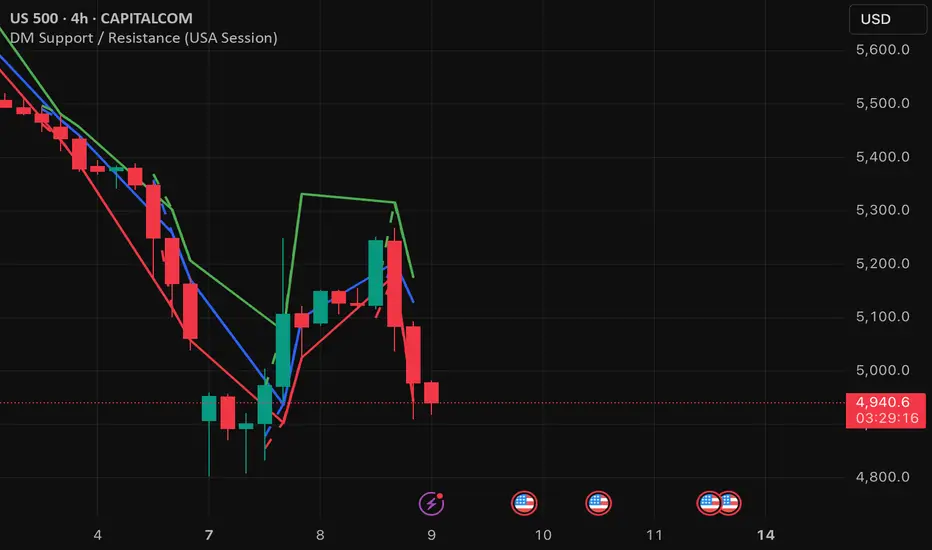
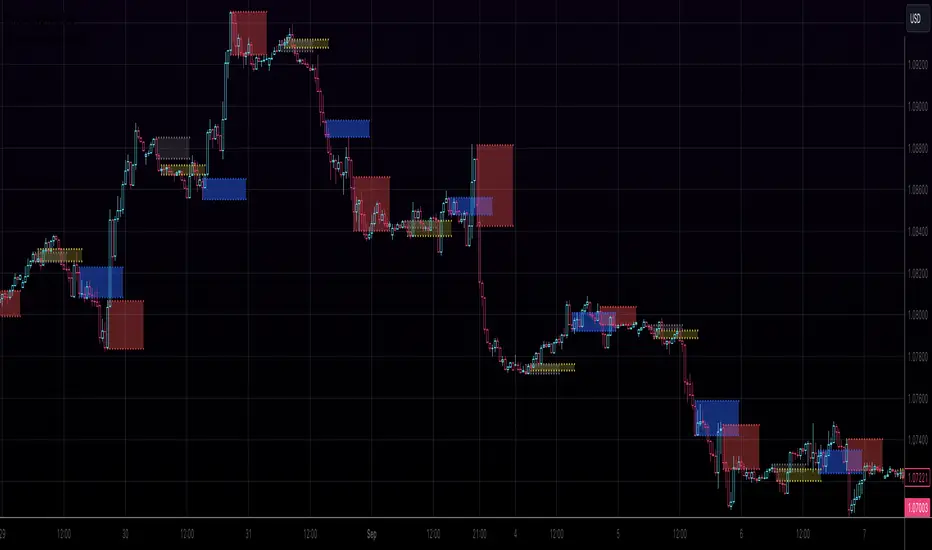
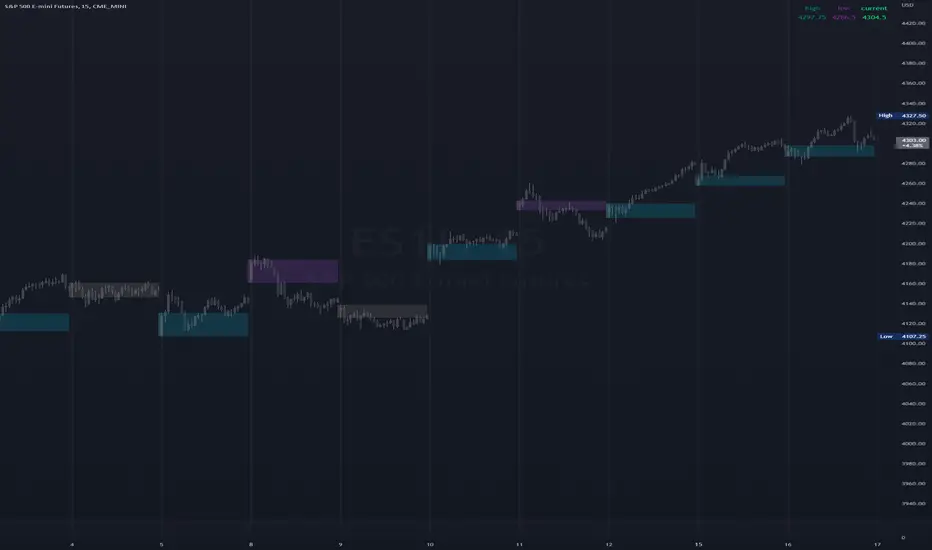
ICT Liquidity Engine Free ICT Liquidity Engine is a clean and reliable indicator designed to automatically track key liquidity levels from the Asia and London sessions, based on ICT concepts.
It helps traders clearly identify where liquidity is building and where it is being taken, in real time, without repainting or manual drawing.
🔍 Key Features
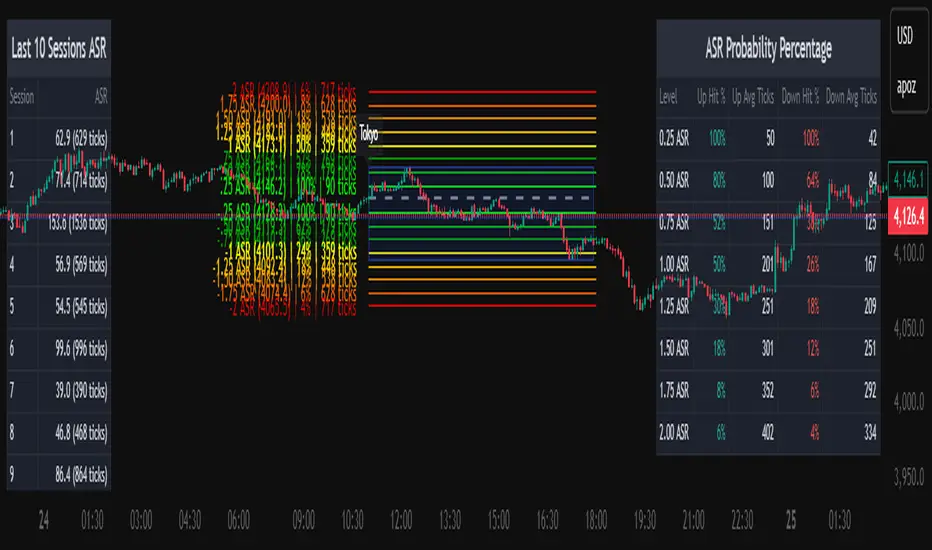
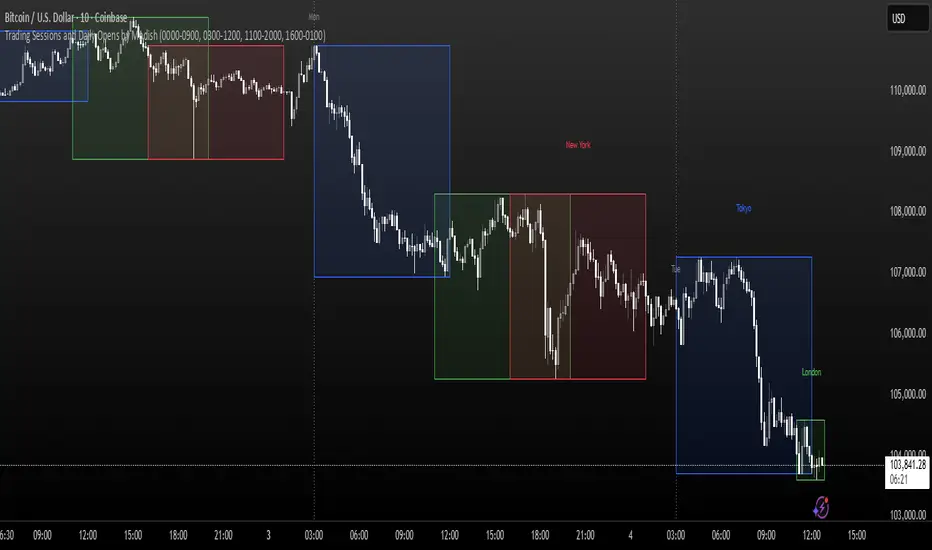
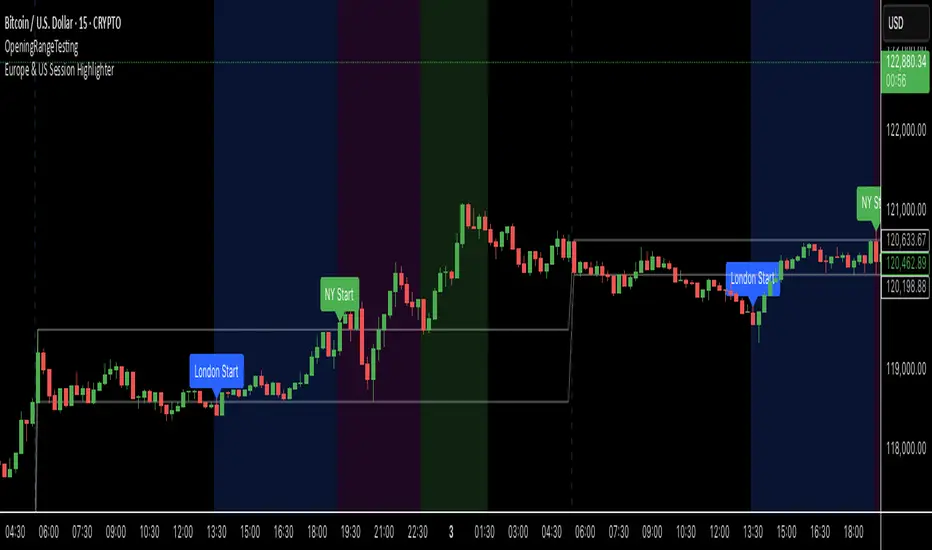
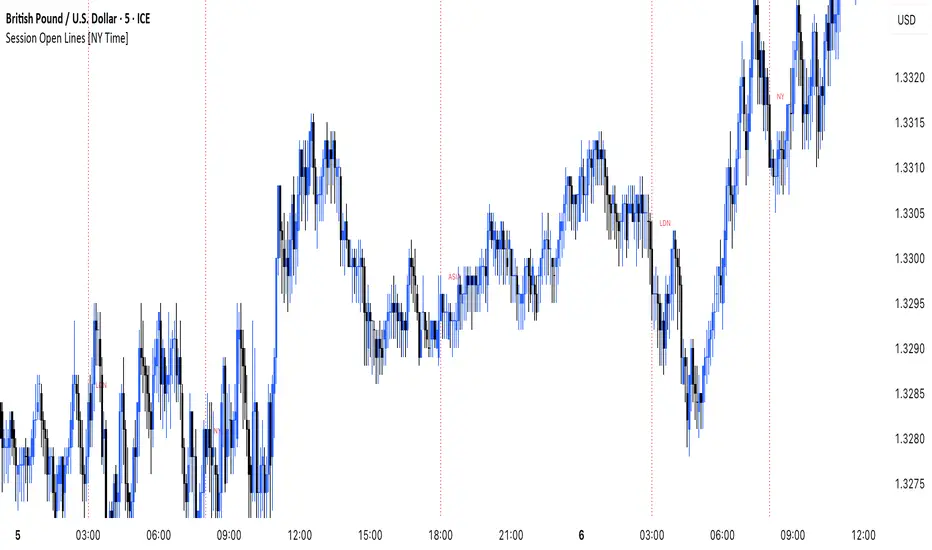
Asia High / Low LIVE (02:00–06:00 Paris)
London High / Low LIVE (08:00–11:00 Paris)
Real-time updates during each session
Automatic freeze at session close
Independent removal of High or Low once liquidity is taken
No repaint – replay-safe (1m-based calculations)
Works on all timeframes
🎯 Why use ICT Liquidity Engine?
Save time: no more manual session levels
Cleaner charts, clearer context
Ideal for spotting:
liquidity sweeps
session reactions
high-probability ICT environments
This free version is intentionally simple, fast, and robust, serving as a foundation tool for more advanced ICT models (FVG, IFVG, market structure, etc.).
📈 Markets
Futures (ES, NQ, DAX, etc.)
Forex
Indices
(Works on all assets – optimized for institutional markets)
ℹ️ Notes
This indicator is 100% free and will continue to evolve.
An advanced version with FVG / IFVG detection, multi-timeframe filters, and smart alerts is currently in development.
🔥 Use it as a base. Build your edge on top of it.
Pine Script® indicator