MTF Sqz by The CrazyChrisCC – MTF Sqz/EMA
I create this script to easily be able to see the EMA and the Squeeze on multiple time frame at the same time and to easily create alert without going to each time frame to activate them.
Here how it work :
TF/EMA :
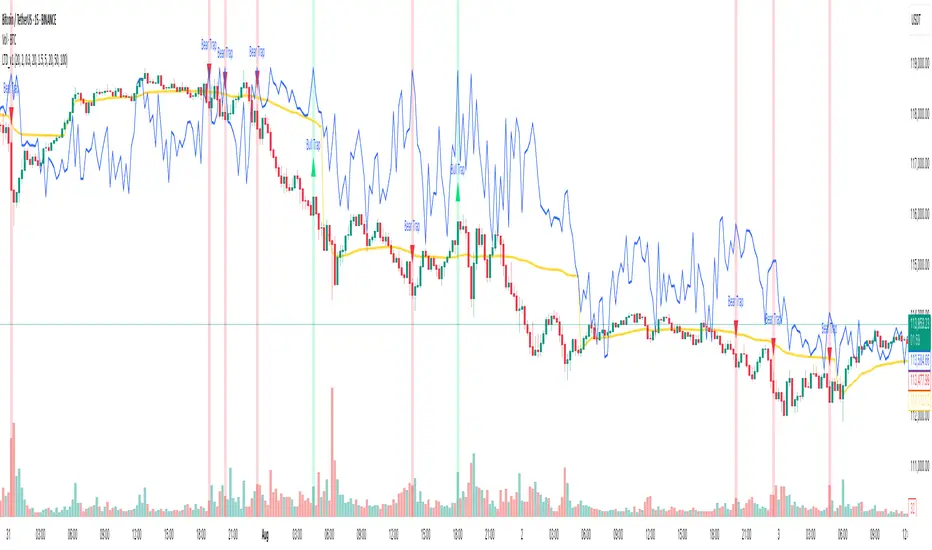
This section show all 13 different time frame with a variable background color. The background color refer to the EMA 8 , 21 and 50. If all EMA are stack up ( ema 8 above ema 21 and ema 21 above ema 50) the background will be Green. If the EMA are stack down ( ema 8 below ema 21 and ema 21 below ema 50) the background will be Red. If the EMA are mix (no direction) the background will be Yellow.
Sqz :
1. This section show the squeeze for each time frame
- Green background = no squeeze
- Gray background = low squeeze
- Red background = medium squeeze
- Orange background = high squeeze
2. This section also show A+Up or A+Down :
- A+Up = EMA stack UP + medium or high squeeze + momentum increase
- A+Down = EMA stack Down + medium or high squeeze + momentum decrease
Buy Zone :
- Bz (green background) = Price between EMA 8 and EMA 21 + EMA stack Up + Medium or High squeeze
- Sz (red background) = Pirce between EMA 21 and EMA 8 + EMA stack Down + Medium or High squeeze
Best part of this indicator are the Alert !!! : They will advert when the price action is in the good spot for long or short depending of what kind of alert you set. (These alert are for information only, you choose by yourself if you want to go long or short or do nothing!)
I personally only used this indicator on the Bullish side ( I’m more of a bullish trader than a bearish trader) but I put different type of alert for all kind of trader.
First you need to go on the setting of this indicator to set the king of alert you want. By default it will activate alert for the Bullish ‘A+ Up + Bz’ condition ( I remove the 1 min , 3 min, daily, weekly and monthly alert to not receive too much alert)
Also before I set the alert I habitually choose a chart time frame of 30 min or around. The reason is if I choose a time frame to short I will received too much alert and if I choose a time frame too long I will not received enough alert but everyone each preference, you have the choose the best time frame that fit your kind of trading
To activate alert, go to the 3 dots (… , more) on the indicator title than chose the first option ( add alert on cc – MTF sqz) than click ‘Create’. From now every time frame that was already select in the setting of this indicator will be monitor and give you an alert when the conditions are met.
I also add some information the TICK indicator, the daily ATR and the Market cap for information purpose only.
Good trading to all
Feel free to comment or add request to this indicator, I try my best to respond to everyone
Pine Script® indicator