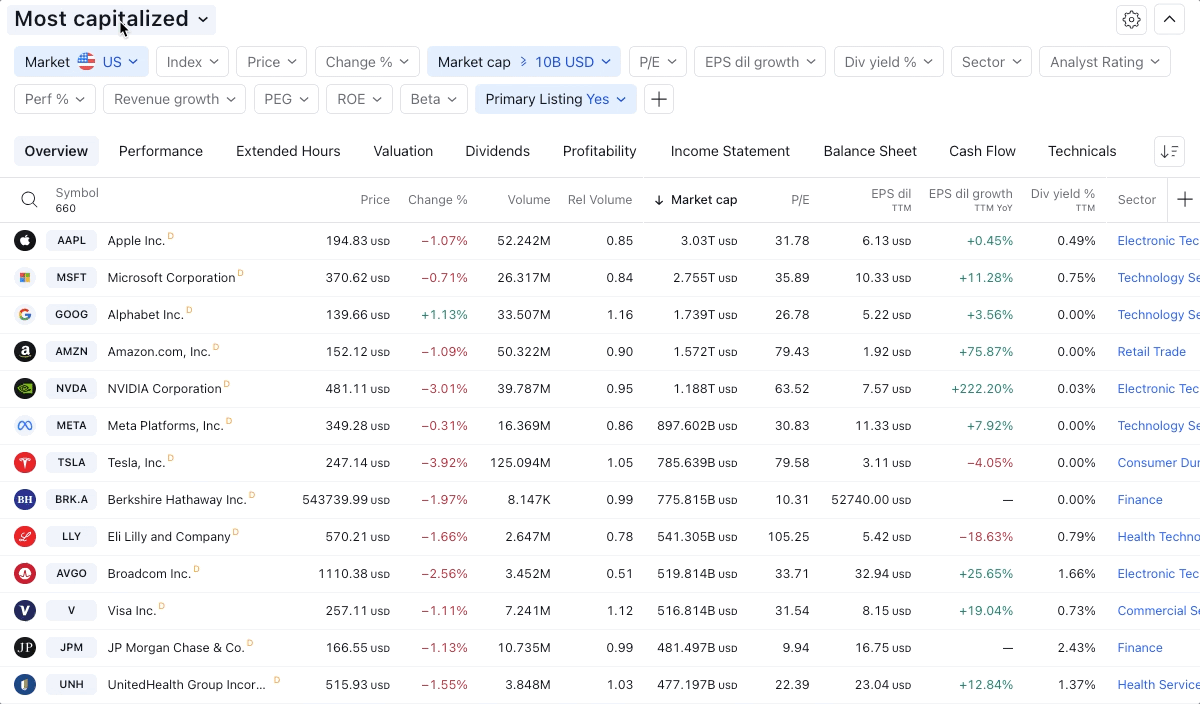
How to save custom screen
Screener allows you to save the settings to a template.
The following settings are saved: list of active and inactive filters located in the top panel, active set of columns, column sorting in the table, and name of the screener template.
Actions available for screener templates:
- Create a new template
If you need to create a new screener template, select the “Create new screen” action.
You can also create a template by pressing the key combination of Shift + option + N for Apple devices or Shift + Alt + N for Windows devices.
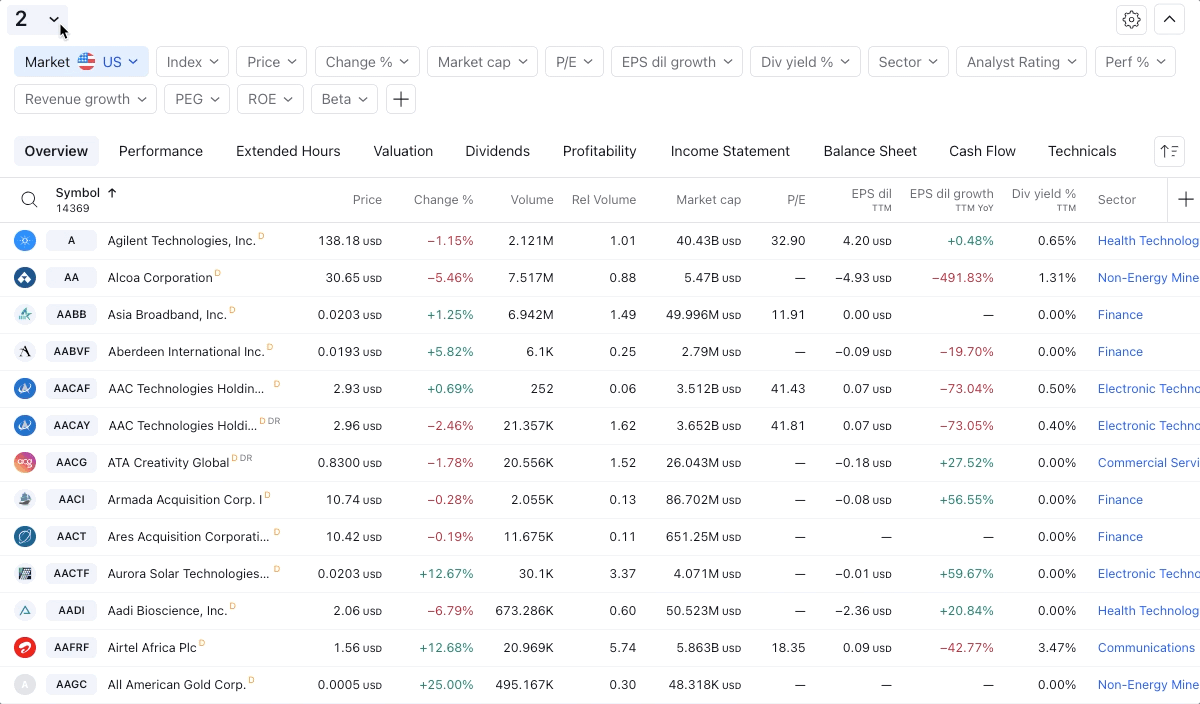
After selecting an action, a screen is created with a set of inactive popular filters in the top panel of the screener.
- Rename template
This action allows you to change and save the name of the template.

- Save screen
You can select the “Save” action in the template menu

or click on the Save button located on the top panel next to the template name to save the template:

You can also use the key combination Shift + option + S for Apple devices or Shift + Alt + S for Windows devices.
Please note that when you save the screen, you save it in one template:
- Current filter set
- Current sorting
- A set of columns combined into a custom column set
- Delete screen
Deleting a template is available in 2 ways: through the Delete screen action and in the My screens dialog.
For the first method, just open the template menu and select the Delete screen action:

After selecting the action, the selected custom screen will be deleted.
In order to delete any custom template, you need to select “All my screens...” in the template menu and in the dialog that opens, click on the cross button opposite the selected template.
Please note that once a template is deleted, it cannot be restored.
- Revert to the default screen
This action allows you to return to the default template without active filters and with the default set of columns.
